
Before you start
- You need User Management.
- To upload a logo, have a JPEG, PNG or WebP image under 2MB. "Recommended: PNG or JPG format, 200x200px or larger, max 2MB".
Steps
Upload or change your company logo
-
Select your name at the bottom of the sidebar.
-
Select Settings.
-
In Company Logo, select Upload Logo, or Change Logo if a logo is already there.
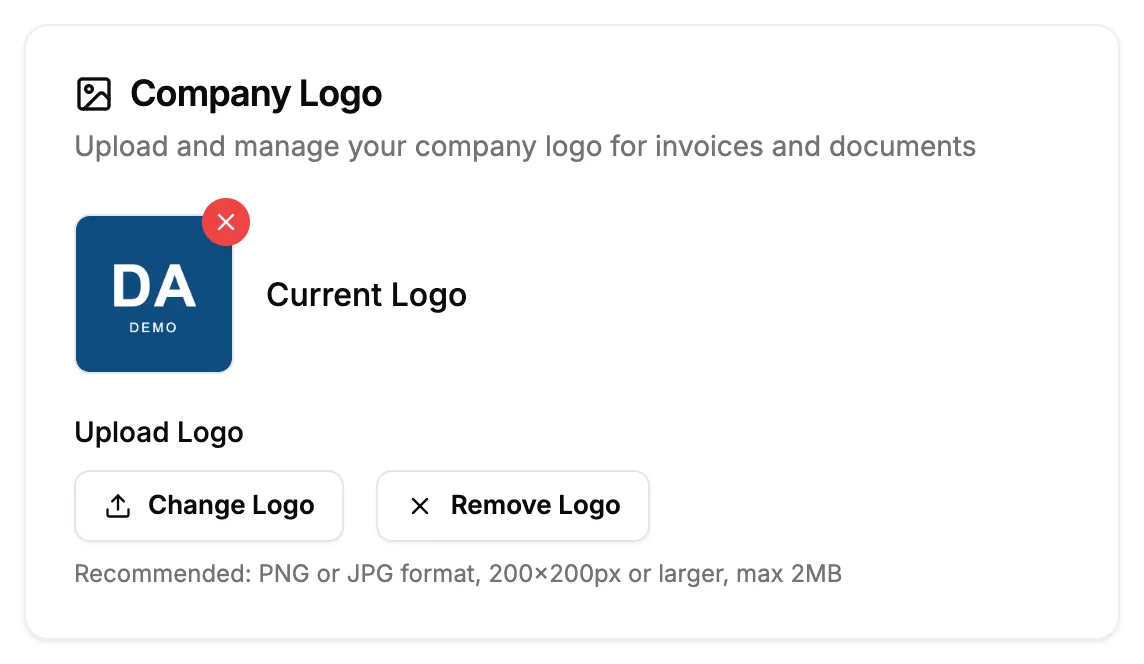
Step 3. The Company Logo card with Current Logo and Change Logo. -
Choose the image file. The screen shows "Logo uploaded successfully".
-
Select Save All Settings at the bottom of the page.
Remove your company logo
- Select your name at the bottom of the sidebar.
- Select Settings.
- In Company Logo, select Remove Logo, or the X on the logo.
- Select Save All Settings at the bottom of the page.
Result
Upload or change your company logo: the message "Settings saved" shows and the card shows the logo under "Current Logo". New invoices and documents carry the logo.
Remove your company logo: the message "Settings saved" shows and the card reads "No logo uploaded". New documents print without a logo.
If something is different
- The button is greyed out: you do not have User Management.
- You did not select Save All Settings after uploading: the file is uploaded but not yet set as the company logo. Select Save All Settings.
- You did not select Save All Settings after removing: the logo is still saved. Select Save All Settings.
- "File size must be less than 2MB": make the image smaller.
- "Please select an image file": choose a JPEG, PNG or WebP file.
- "Failed to upload logo. Please try again.": try again.