
Before you start
- You are the Owner, Admin or HR.
- Every company starts with six roles: Admin, Manager, User, Technician, Worker and HR. Add a role only when none of them fits.
Steps
-
In the sidebar, select Management › Roles, or HRMS › Roles. "Roles / Departments" opens.
-
Select Add Role. The "Add New Role" box opens.
-
In Role Name, type the name, for example Site Engineer. Up to 50 characters. The line "Slug:" under it shows the stored name.
-
Under Badge Color, choose a colour. Preview shows the badge.
-
Under Default Permissions, tick what people with this role may open.
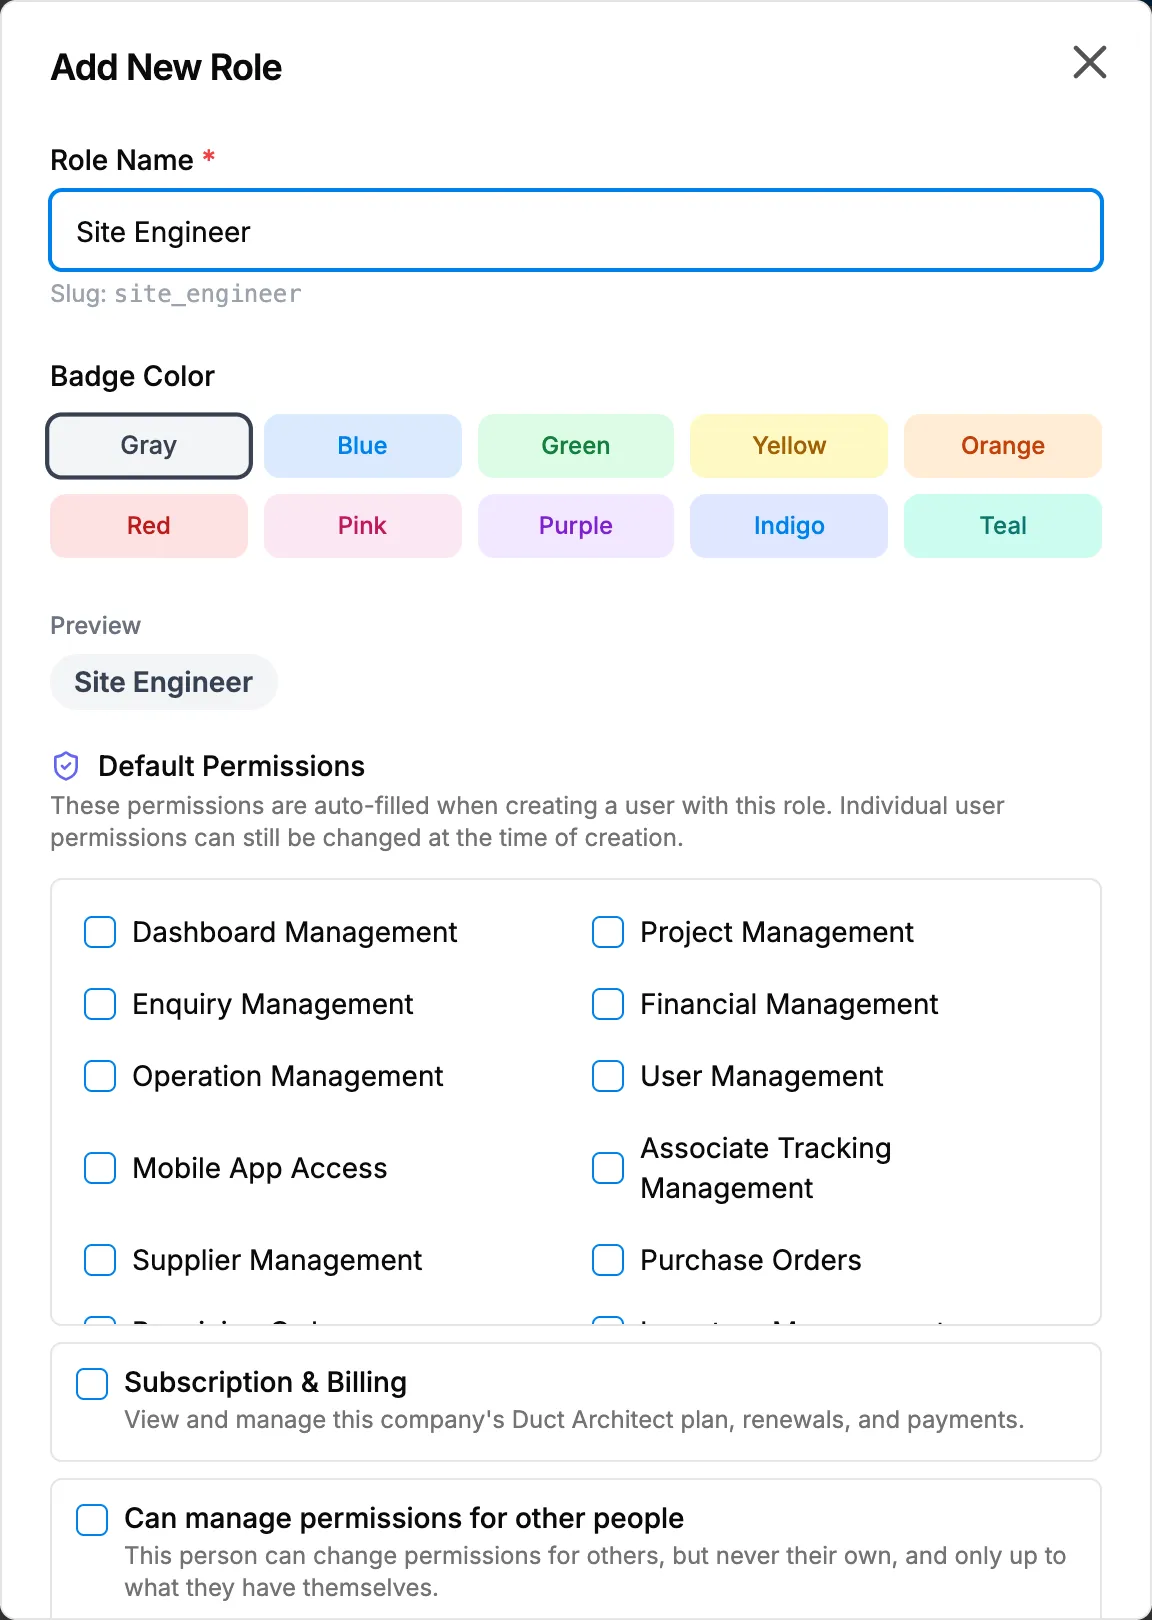
Step 5. The Add New Role box with Role Name, Badge Color and Default Permissions. -
Optional: set the rights rows, Sensitive information, What this person can do and Records and export. See Sensitive information and record actions: what each box controls.
-
Select Create.
Result
The message "Role created successfully" shows. The role is in the list with its colour and the number of permissions. It is now offered in Role on Add New User.
Next: Add a user with this role.
If something is different
- "A role with this name already exists": choose another name.
- "A deleted role with this name is in the Recycle Bin. Restore it, or choose another name.": restore it from the Recycle bin, or use another name.
- "Owner is the company owner's own role and cannot be created as a job role.": choose another name.
- The footer reads "No permissions selected: users with this role will start with no access.": tick at least the permissions they need.
- A box is greyed out: you cannot give a permission you do not hold yourself.
- A plan warning opens: your plan is not active.