
Before you start
- You need User Management.
- The Branches module is on. See Switch a module on or off.
- Have the branch's GSTIN and state ready. The first two digits of a GSTIN are the state code.
Steps
-
In the sidebar, select Catalog & Inventory › Branches. If your company has Catalog & Inventory switched off, select Management › Branches.
-
Select Add branch. A side panel opens: "A branch can carry its own tax registration number and address."
-
Fill in the branch.
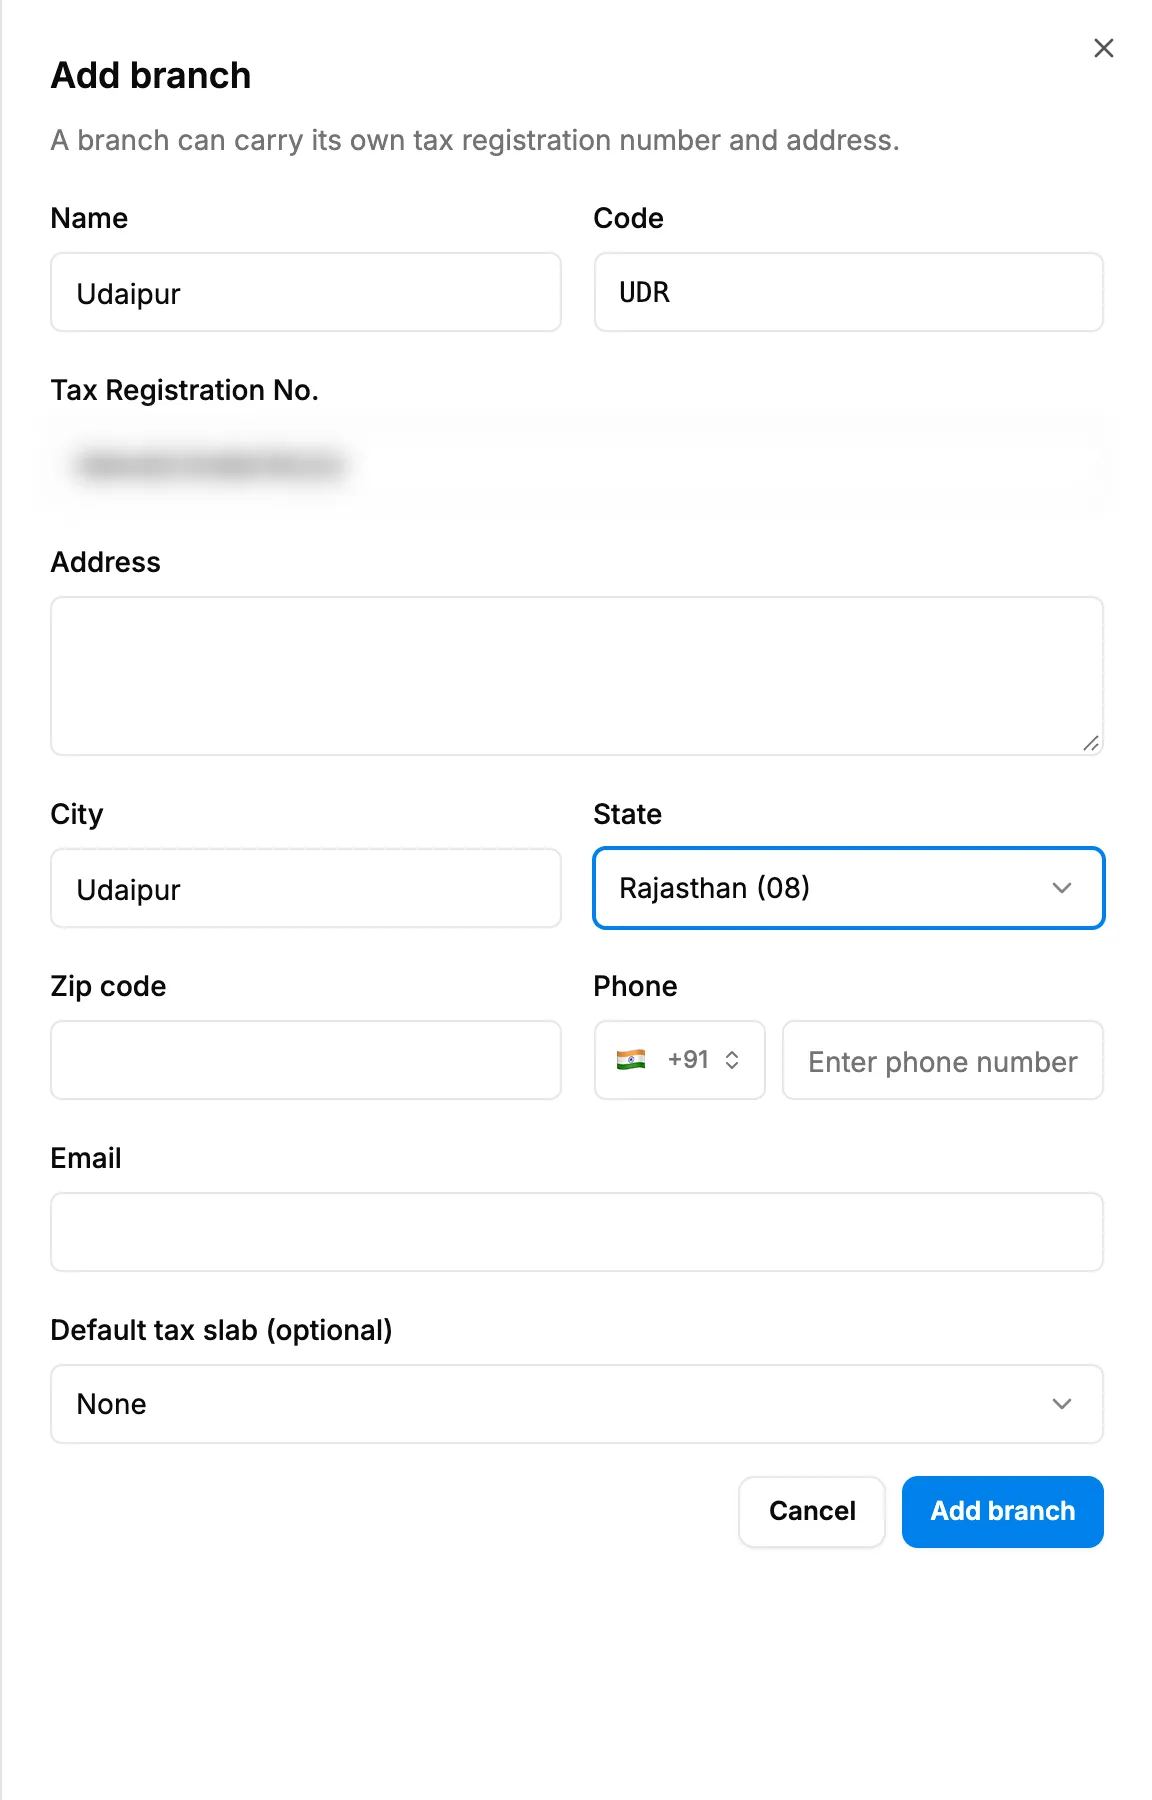
Step 3. The Add branch panel with name, code, GSTIN and state. Field Required What to enter Name Yes For example Jaipur. Up to 100 characters. Must not match another branch. Code Yes 2 to 5 letters, for example JPR. Used in invoice numbers with the BRANCH token. Tax Registration No. No The branch GSTIN, for example 08ABCDE1234F1Z5. Its first two digits must match State. Address No Branch address. City No City. State No Choose a state from the GST state list. Zip code No PIN code. Phone No Branch phone. Email No Branch email. Default tax slab (optional) No From your company's tax slabs. Starts as None. -
Select Add branch.
Result
The message "Branch added" shows. The branch is in the list with Active, and is offered in branch pickers.
Next: Add a user.
If something is different
- "Branches is switched off for your company.": an Owner or Admin switches it on in Settings, Modules.
- "The code must be 2 to 5 letters." or "The code "[code]" is already used by the branch "[name]".": choose another code.
- "Choose the branch state that matches this GSTIN" or the GSTIN and state do not match: see A GSTIN is not accepted on a branch.
- No Add branch button: you do not have User Management.
- Your company does not use GST: Tax Registration No. shows "Optional" and State is a text box.