
Before you start
- You need Inventory Management.
Steps
-
In the sidebar, select Catalog & Inventory › Warehouses. "Warehouses" opens: "Main Warehouse address is managed here and is separate from the company address."
-
Select Add Warehouse. The box says "A warehouse can be chosen as the delivery address on purchase orders."
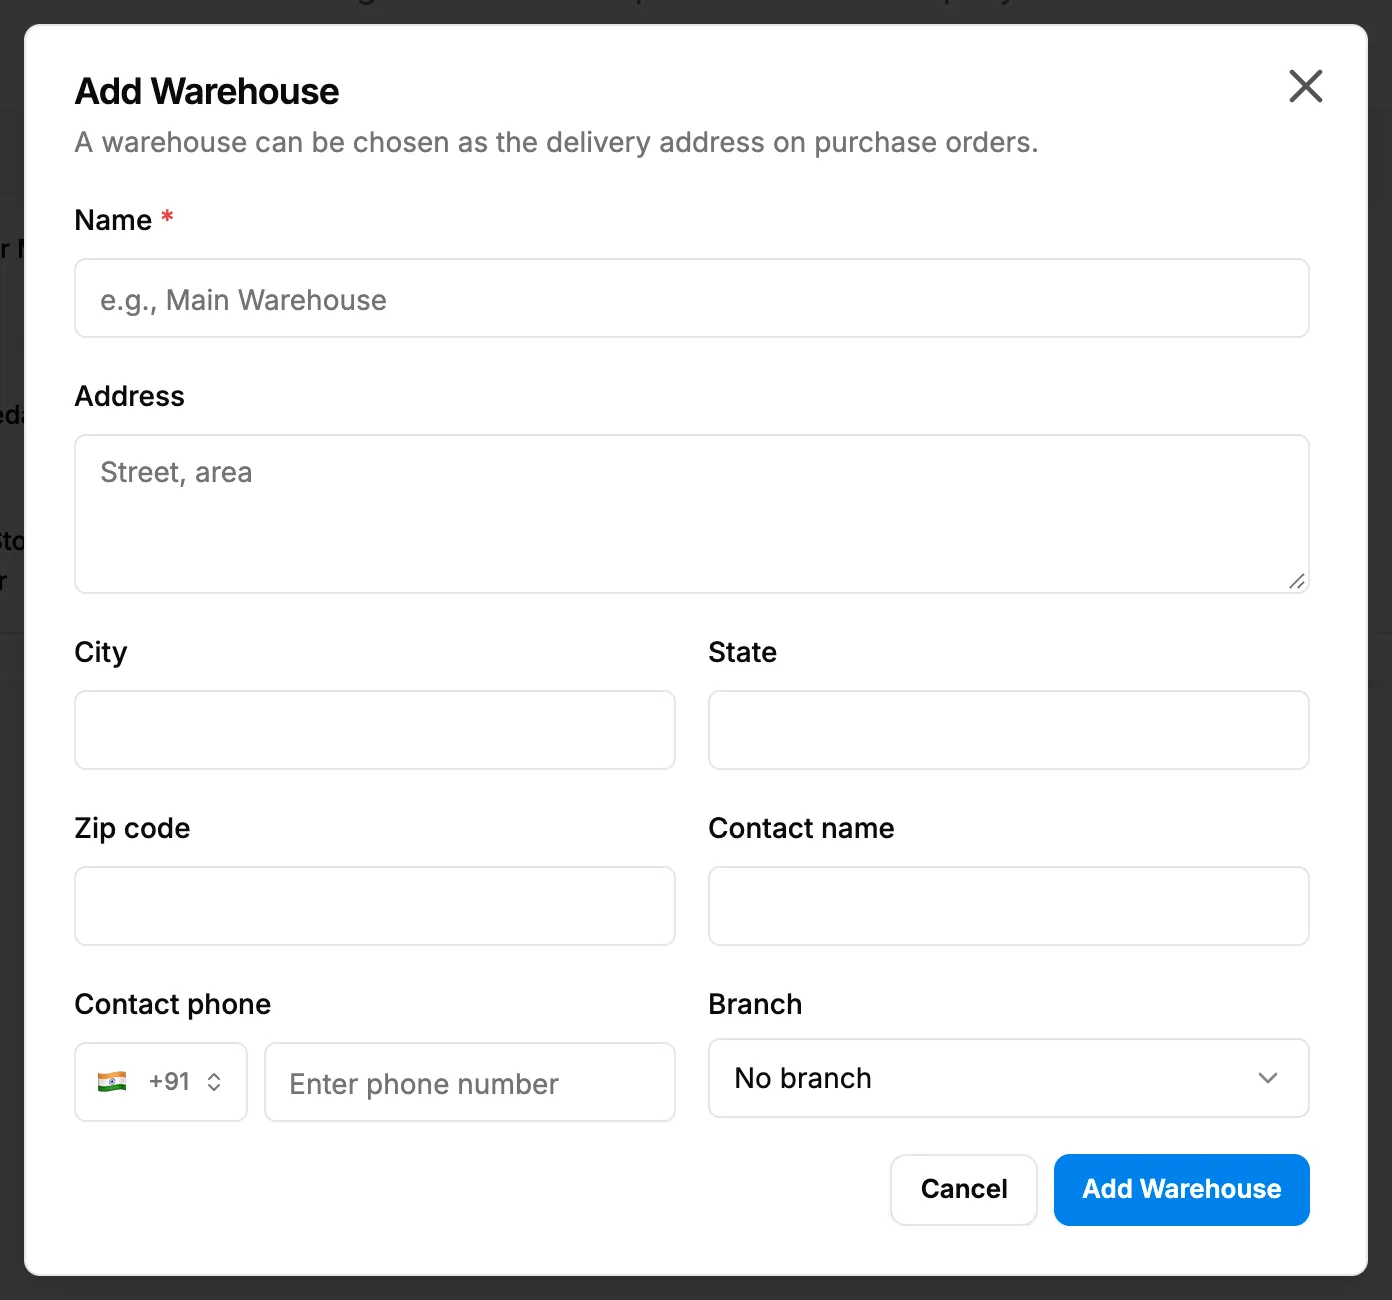
Step 2. The Add Warehouse box with Name, Address and contact fields. -
Fill in the fields:
Field Required What to enter Name Yes Unique in your company, for example Main Warehouse. Address No Street and area. Up to 2000 characters. City No Up to 100 characters. State No Up to 100 characters. Zip code No Up to 20 characters. Contact name No Up to 100 characters. Contact phone No A country code, for example +91, and the number ("Enter phone number"). Up to 30 characters. Branch No Only when your company shows branches. Starts at No branch. -
Select Add Warehouse.
Result
The message "Warehouse added" shows. The warehouse is on the list with Active, its address, contact, Items held and Units held. It can be picked as the delivery address on new purchase orders, in the Purchase module. See Choose where a purchase order is delivered.
With two or more active warehouses, the stock screens show warehouse pickers and columns, and Stock Transfers appears in the sidebar. See Move stock between warehouses.
If something is different
- No Add Warehouse button: you do not have Inventory Management.
- "Warehouse name is required": fill in Name.
- "A warehouse named "[name]" already exists.": use another name.
- "Name is too long", "Address is too long" and the like: shorten the field.
- No Branch field: your company does not show branches.
- To make it the default: see Edit, set default, deactivate or reactivate a warehouse.