
Before you start
- To upload, rename or delete, you need Edit on Projects. To view and download, View is enough.
- Files can be images, PDF, Word, Excel, DWG or ZIP, up to 10 MB each.
Steps
Upload files to a stage
-
Open the stage. See Open a stage and its tool.
-
Drag the files onto "Drag files here, or upload", or select Upload drawings and choose them.
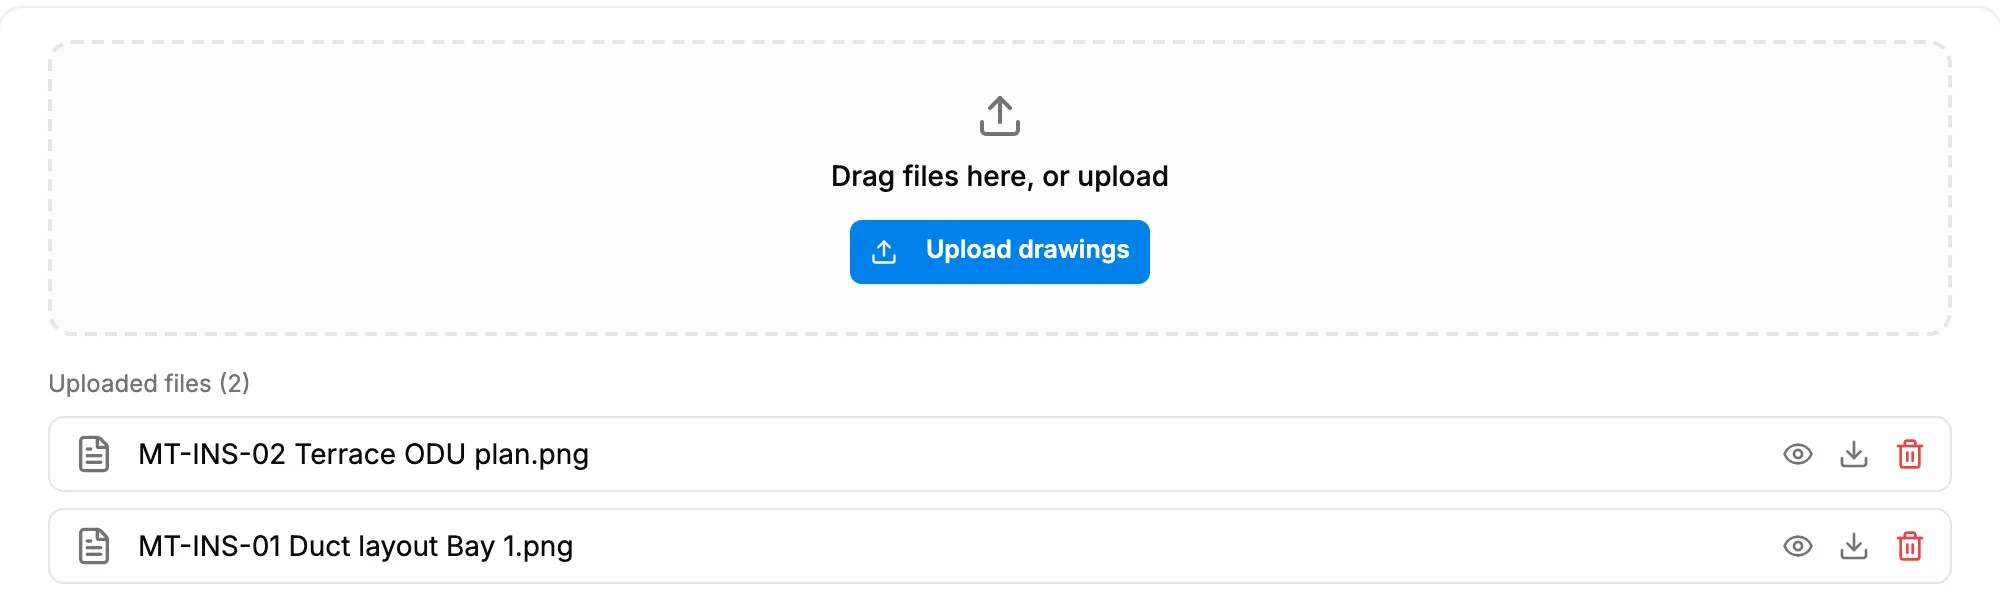
Step 2. A stage's upload area with its Uploaded files list.
Upload files on the Files tab
- Open the project and select the Files tab. "Project Files" opens: "Upload and manage drawings, documents, and other project files."
- Select "Click to upload files", or Upload files, and choose the files.
Rename or delete a file
- On the Files tab, find the file.
- To rename it, select Rename. In the "Rename File" box, type the New file name. "The extension will be preserved automatically." Select Rename.
- To delete it, select Delete. The "Delete File" box asks "Are you sure you want to delete this file? This action cannot be undone." Select Delete.
Result
Upload files to a stage: the message "[number] file(s) uploaded" shows. The files are listed under "Uploaded files ([number])" on the stage, each with three icon buttons that have no text. Their tooltips read "View", "Download" and "Delete".
Upload files on the Files tab: the message "[number] file(s) uploaded" shows. The list reads "[number] file(s)", with " (includes stage files)" when stage files are counted too. Each file shows who uploaded it, the date, its size, and "(stage file)" for a stage's file.
Rename or delete a file: the message "File renamed" or "File deleted" shows.
If something is different
- No upload area, Rename or Delete: you do not have Edit on Projects.
- "No files uploaded yet.": the project has no files.
- The upload date looks a day off: the Files tab shows dates in your browser's time zone, not your company's. See Dates look a day off.