Before you start
- You need Project Management and Add on Projects.
- Your company's plan is active and has room for another project.
- If the job came in as an enquiry, start the project from the enquiry instead. See Start a project from an enquiry.
Steps
-
In the sidebar, select Projects › List.
-
Select Add Project. The "Add Project" page opens: "Set up a new HVAC project with client details and specifications."
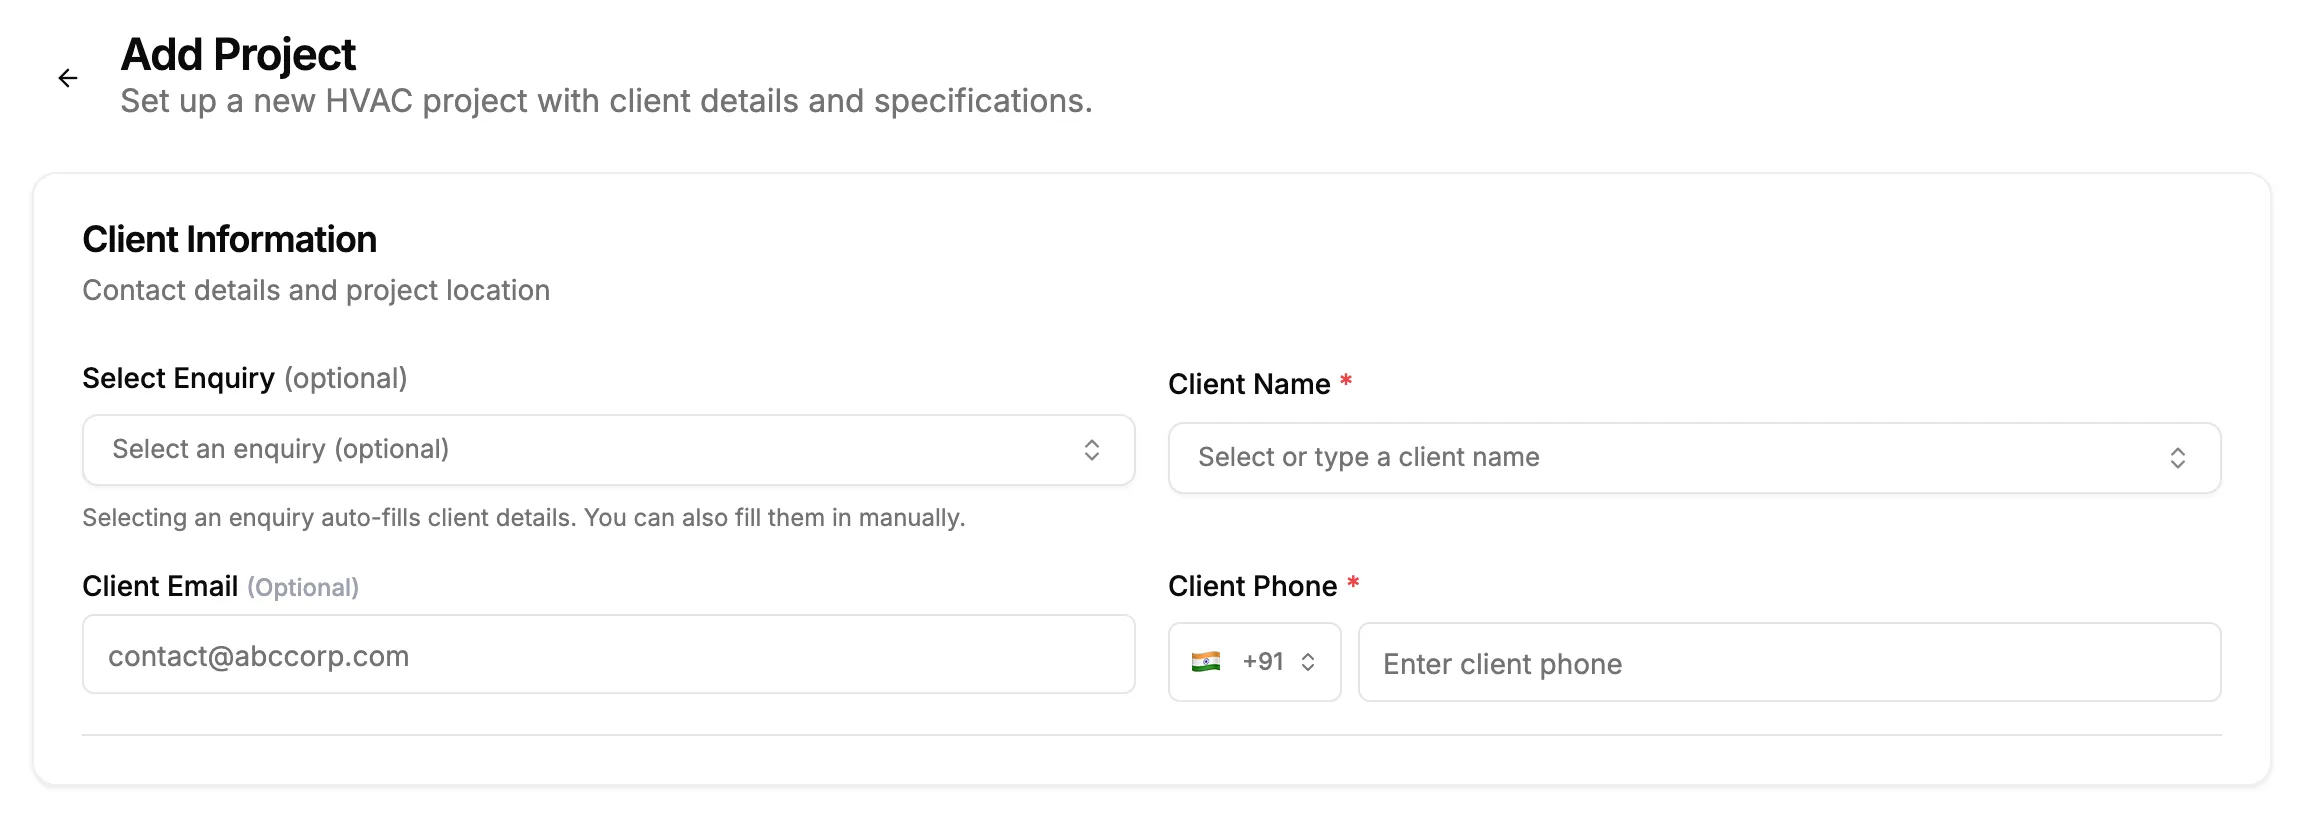
Step 2. The Add Project page with the Client Information card. -
Under Client Information, pick the client in Client Name, or type a new name and select Use "[name]" as a new client. Fill in Client Phone.
-
Under Project Information, fill in the project details.
Field Required What to enter Project Name Yes Up to 100 characters. Project Type Yes New Installation, System Replacement, Repair & Maintenance, System Upgrade or Inspection & Assessment. Project Country Yes Starts with your company's country. It sets the load-calculation engine and centres the site map. Unit System Yes Starts with your company's unit system. Start Date Yes Today or any date up to 1 month in the past. End Date (Optional) No Not before the start date. Estimated Project Value No Your internal estimate. The contract value comes from the accepted quotation. Contract Value (if already agreed) No Leave blank if the job will be priced through a quotation. -
Under Load & System, choose Load Intent: Cooling, Heating or Both. Check the system type and engine for each side.
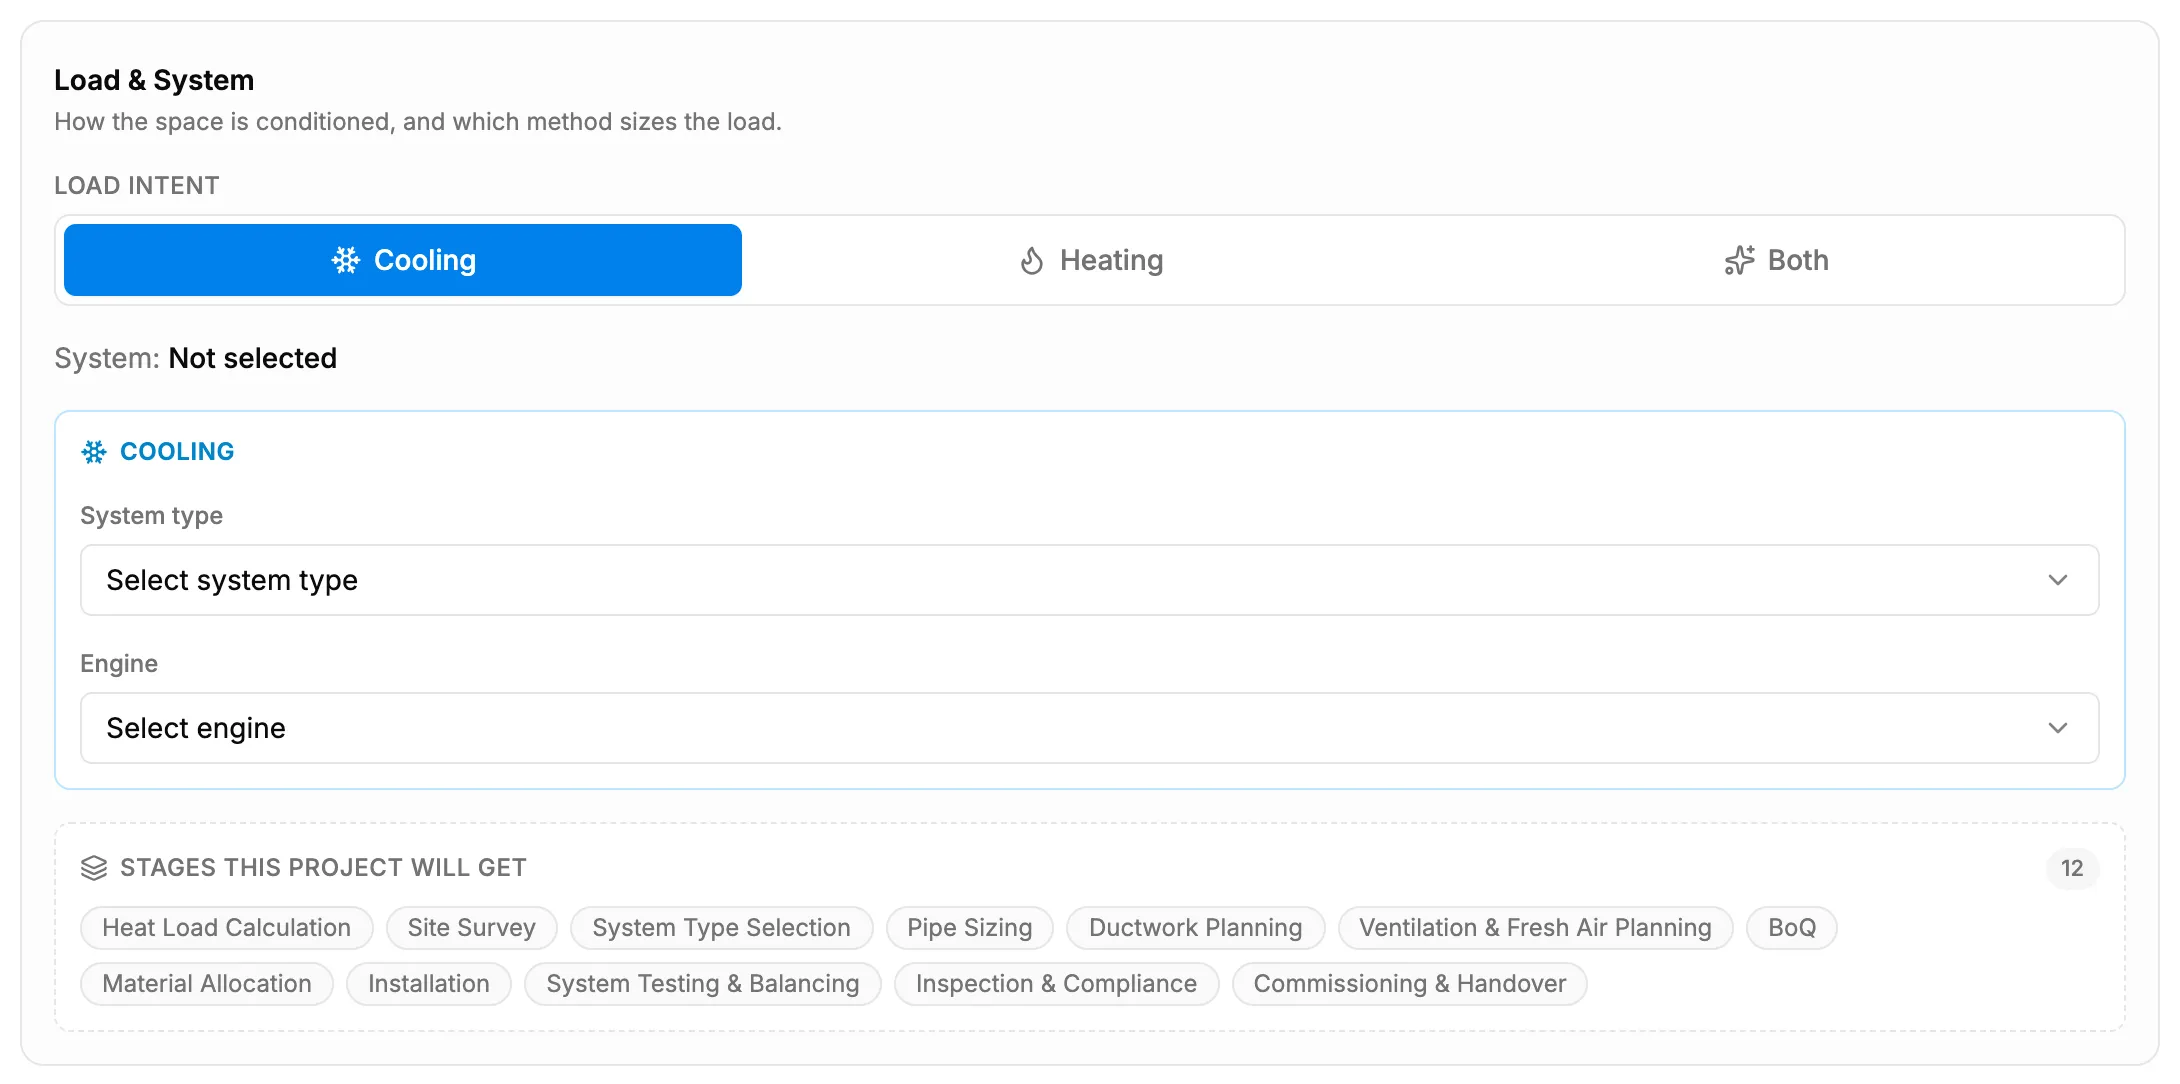
Step 5. Load & System with the Stages this project will get preview. -
Under Site Address, choose the City and pick the Street Address. To set the map pin, select the site on the map or select Use Current Location.
-
Under Assignment, choose the Project Manager, or leave No manager assigned.
-
Under Additional Options, tick Requires building permits or Has existing HVAC system if they apply, and add Additional Notes.
-
Select Add Project.
Every field, with its options and defaults, is in Add Project and Edit Project: every field.
Result
The message "Project created successfully!" shows. The new project opens on its Project Stages tab with Pending. Its stages are created for your firm type and settings, each with its first to-do. See Which stages a new project gets.
Next: Open a stage and its tool.
If something is different
- No Add Project button: you do not have Add on Projects. Ask your administrator. See Change what a role can do inside a module.
- A plan warning or upgrade box opens: see Add Project or Bulk Upload opens a plan warning.
- Projects is missing from the sidebar: the Projects module is switched off for your company, or you do not hold Project Management. See I can't see a menu item.
- The new project has fewer stages than the preview listed: the preview does not follow your firm type or Work Stages Configuration. See The Duct Layout or Building Model stage is missing.
- Unit System and Currency: they start with your company's settings. The currency cannot be changed after the project is created.
- GST: for an Indian company working in INR, the project page adds GST to the estimated value and shows a total.
- City is a text box: the country has no city list. Type the city as "Enter city" asks.
- "No matching city: pin it on the map below.": select the site on the map instead.
- "⚠ End date equals start date, project duration will be 1 day.": pick a later end date if the job takes longer.
- A location message with odd characters ("→"): your browser blocked location access. Allow it for this site from the browser's address bar, then select Use Current Location again.
- A message such as "Please fix [number] fields: start with [label]...": correct the field it names, then select Add Project again.