
Before you start
- You need Accounts Management and Add on Accounts vouchers. Your company's plan is active and within its Accounts limit.
- The account heads you post to exist and are active. See Add, edit or delete an account head.
- The voucher date is not in a locked financial year.
- Invoices, payments, expenses and purchases post their own vouchers when automatic posting is on. Do not enter them again by hand. See How invoices, payments, expenses and purchases reach your accounts.
Steps
-
In the sidebar, select Accounts › Vouchers.
-
Select Create Voucher. "Create Voucher" opens: "Create a new voucher with debit and credit entries".
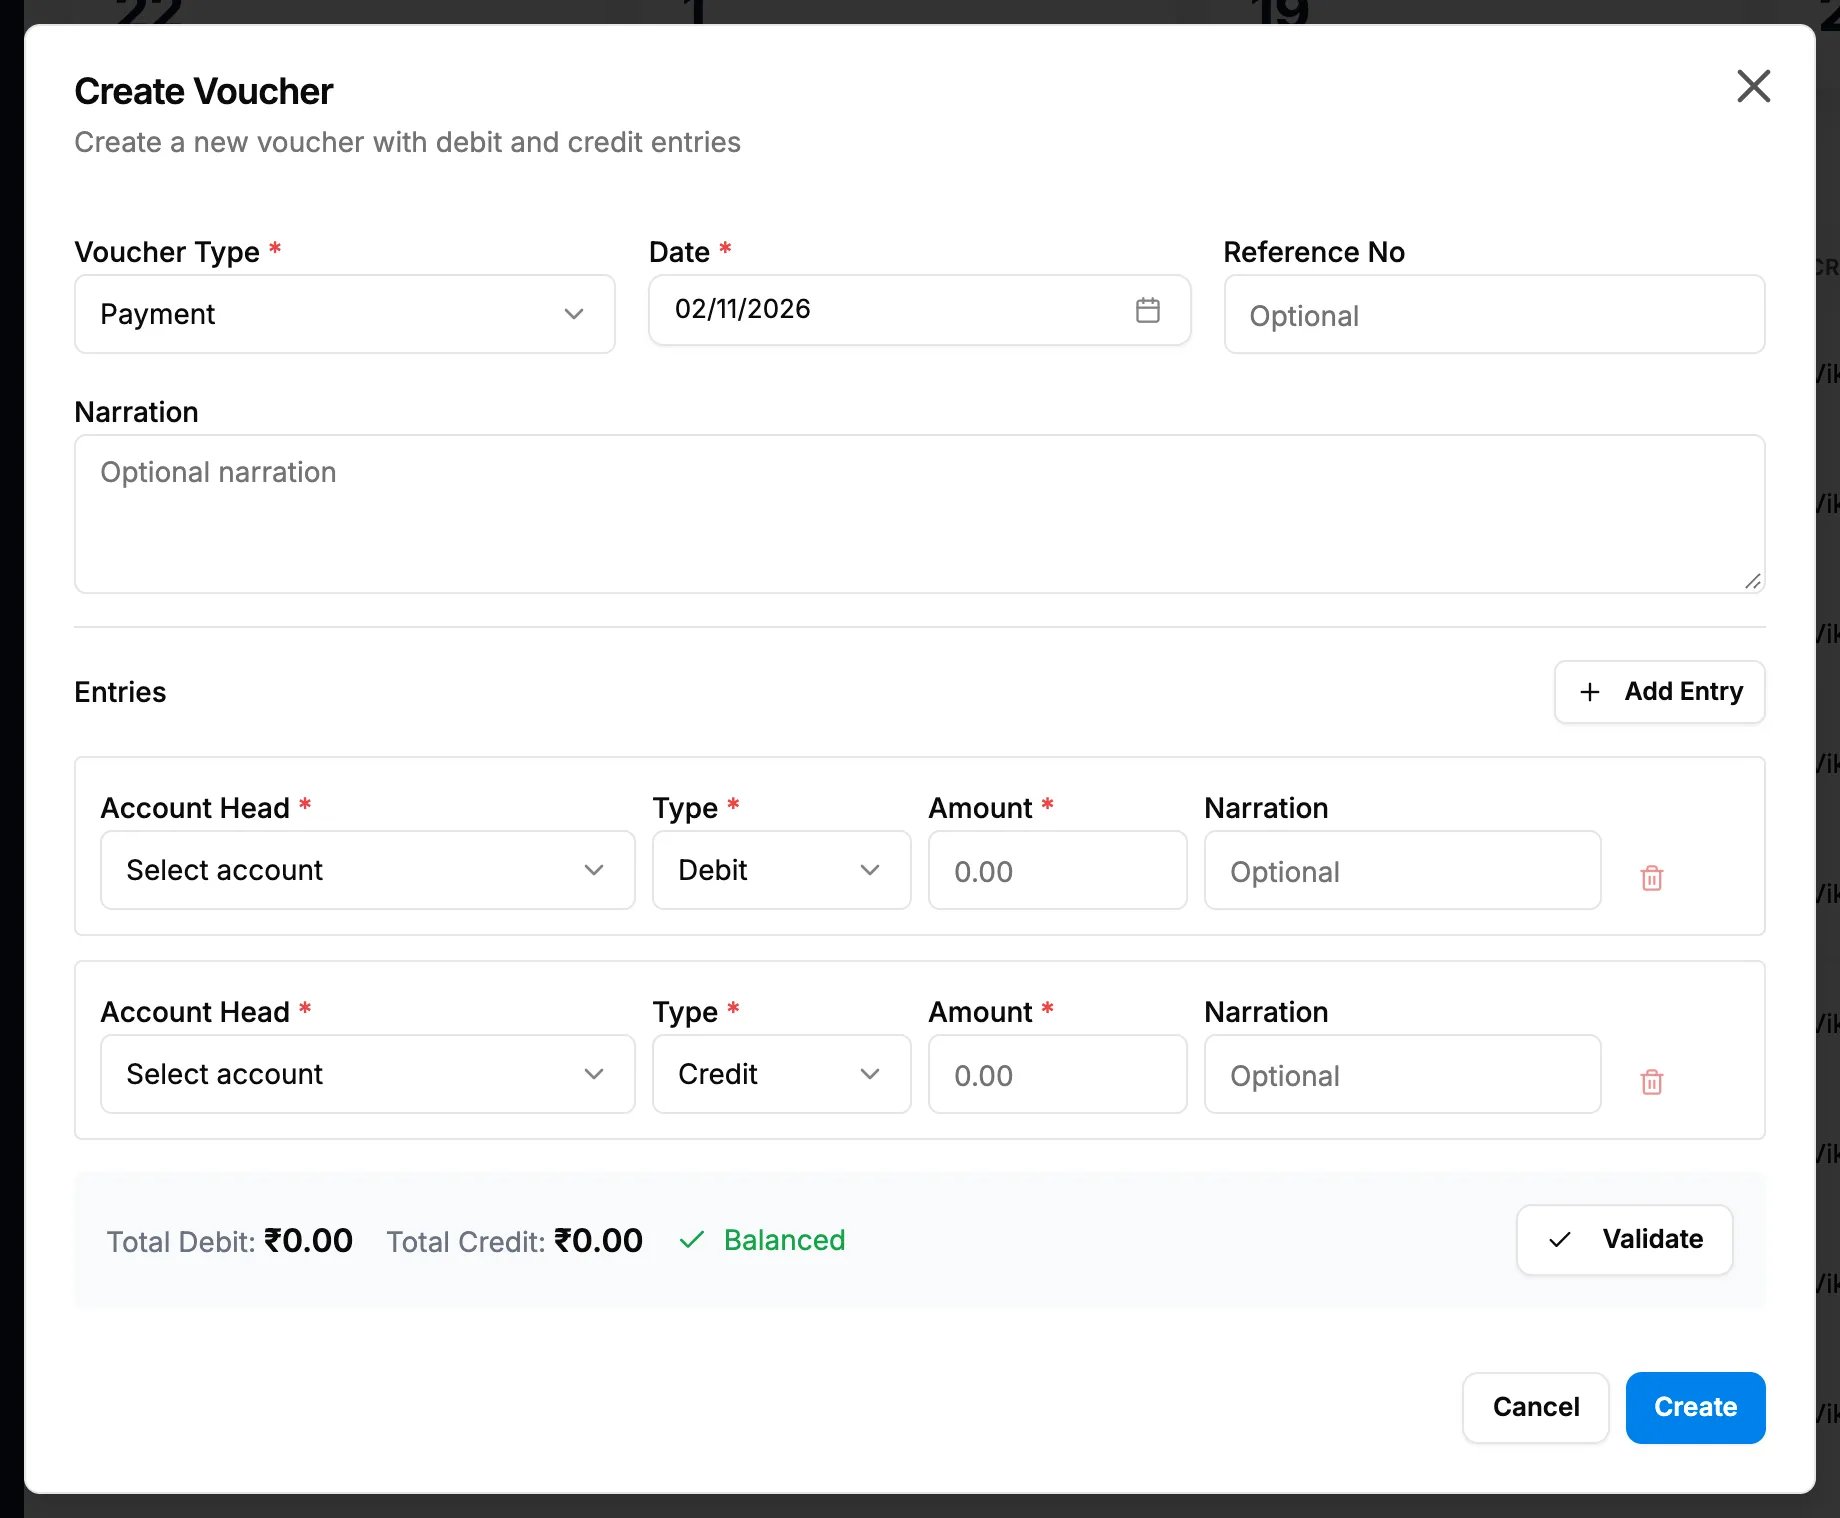
Step 2. The Create Voucher box with the voucher details and two entry rows. -
Fill in the voucher details:
Field Required What to enter Voucher Type Yes Payment, Receipt, Journal, Contra, Sales or Purchase. Starts on Payment. Date Yes A date. Starts on your company's today. Reference No No Up to 100 characters, for example a cheque number. Narration No What the voucher is for. Up to 1000 characters. -
Fill in the two entry rows. The first starts as a Debit and the second as a Credit:
Field Required What to enter Account Head Yes The account. Lists your company's active heads. Type Yes Debit or Credit. Amount Yes Above 0, with up to 2 decimal places. Narration No A note for this line. Up to 500 characters. -
To add a line, select Add Entry and fill it in.
-
Check the footer. It shows "Total Debit:", "Total Credit:" and "Balanced" in green, or "Difference: [amount]" in red.
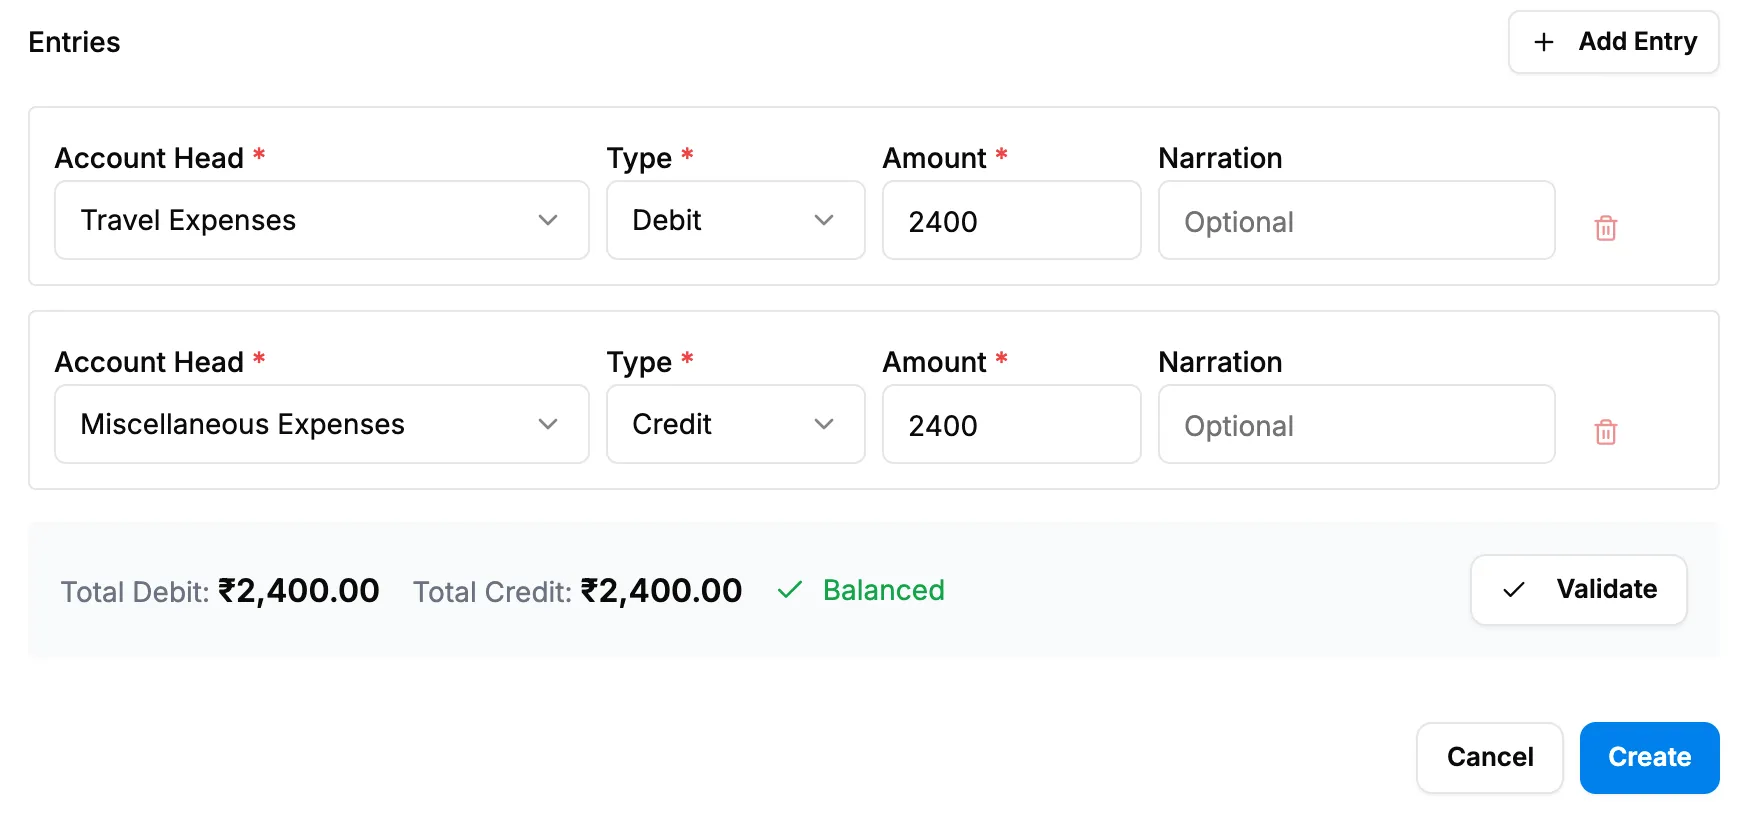
Step 6. The footer with Total Debit, Total Credit and Balanced. -
To check the voucher before saving, select Validate. "Voucher is valid and balanced" shows when it is right.
-
Select Create.
Result
The message "Voucher created successfully" shows. The voucher is on the list with its number (for example JOU-2026-0001), Type, Date, Amount, Draft and Created By. A draft counts in no balance or report except the Day Book. Next: Approve a voucher.
If something is different
- No Create Voucher: you need Add on Accounts vouchers. See Accounts: who can do what.
- Create is greyed out: debit and credit differ by more than 0.01. Correct the amounts until the footer reads "Balanced".
- The delete button on a row is greyed out, or "At least 2 entries are required": a voucher needs at least two lines.
- "[year] is locked. Vouchers dated in a locked financial year cannot be changed.": see A voucher or document is in a locked financial year.
- Another message on Create or Validate: see A voucher cannot be saved, approved or cancelled.
- A plan box opens: see Every page sends me to Plans & Pricing.
- The number's year: it is the year of the voucher's own date, not of the day you enter it.